AI Client Setup
Add WPVibe to Claude, ChatGPT, Cursor, Claude Code, or any MCP-compatible client.
Quick guides
Two-minute, step-by-step versions for the most common clients: Connect Claude to WordPress and Connect ChatGPT to WordPress. Everything else is below.
Use the same server URL everywhere
https://mcp.wpvibe.ai/mcpDifferent AI clients label MCP servers in different ways, but the URL stays the same. In Claude.ai and ChatGPT you don’t need it at all: add WPVibe from their directories (below).
Fastest setup: have your AI install it
If you use a local AI client (Claude Code, Cursor, Gemini CLI, Antigravity, Grok Build, Goose, Windsurf, and similar), you can skip the manual steps and paste this into a new conversation:
Set up the WPVibe MCP server for this client. The server URL is https://mcp.wpvibe.ai/mcp. Use this client's native way of adding a remote MCP server if it supports OAuth sign-in; if it does not, add it with mcp-remote (command: npx, args: -y, mcp-remote, https://mcp.wpvibe.ai/mcp). Then reload the MCP servers and start the WPVibe sign-in.A browser window opens for the WPVibe sign-in and you are done. If the window does not appear, ask: “Start the WPVibe sign-in”. Web clients (Claude.ai, ChatGPT, Grok, Perplexity) cannot edit their own settings, so use their sections below instead.
Signing in
Every client uses the same sign-in. Your AI client opens a WPVibe page, you enter your email, and WPVibe emails you a 6-digit code. The code is right in the subject line. Type it on the WPVibe page you left open, and sign-in finishes in that same tab. There is no sign-in link to click, so it works the same whether you read the email on your phone or your computer.
A note on models
Any model that can use MCP can use WPVibe, and connecting your site works on all of them. Once your AI starts doing real work on the site, the model matters more. Building pages, auditing plugins, and multi-step recipes are agentic tasks: the AI has to plan steps, call tools, check results, and keep going. Fast default models are tuned for quick conversation, and on longer jobs they can lose the thread or invent a reason to stop.
If your client lets you pick a model, pick a reasoning model (often labeled “thinking”) for site work:
- ChatGPT: choose a Thinking model from the model picker instead of Auto. On the free plan ChatGPT picks the model for you, which is fine for connecting and everyday edits.
- Claude: the default models handle agentic work well. Turn on extended thinking for large builds.
- Cursor, Windsurf, and other IDE clients: pick the strongest model your plan offers for site-wide operations.
If your AI stalls mid-task or talks itself out of continuing, retry in a fresh chat on a thinking model before assuming something is broken.
Claude.ai
WPVibe is listed in Claude’s Connectors Directory, so there is no server address to paste. Open WPVibe for WordPress in Claude’s directory, or open Customize in the sidebar, then Connectors, and search for WPVibe. Connect it and sign in with your email. If you don’t have a WPVibe account yet, that sign-in creates a free one. On a Claude Team or Enterprise plan, an owner may need to enable WPVibe for your organization first.
Already added WPVibe as a custom connector with the server URL? It keeps working, and you don’t need to reconnect. If you do switch to the directory listing, sign in with the same email address as before, or you’ll land on a different, Free WPVibe account. Keep one WPVibe connector, not both, so Claude doesn’t mix up their tools. The custom connector route (Add > Add custom connector, paste the server URL, leave the OAuth client fields empty) still works too. Full walkthrough: Connect Claude to WordPress.
Claude Desktop
Connectors you add in Claude.ai also show up in the Claude Desktop app when you are signed in to the same Claude account, so add WPVibe from the directory as above. You can also open Customize > Connectors in the desktop app and search for WPVibe there. Restart Claude Desktop if it does not show WPVibe right away.
Claude Code
claude mcp add --transport http wpvibe https://mcp.wpvibe.ai/mcpChatGPT
The easiest path is the official WPVibe plugin in ChatGPT: add WPVibe to ChatGPT, click Connect, and complete the sign-in step.
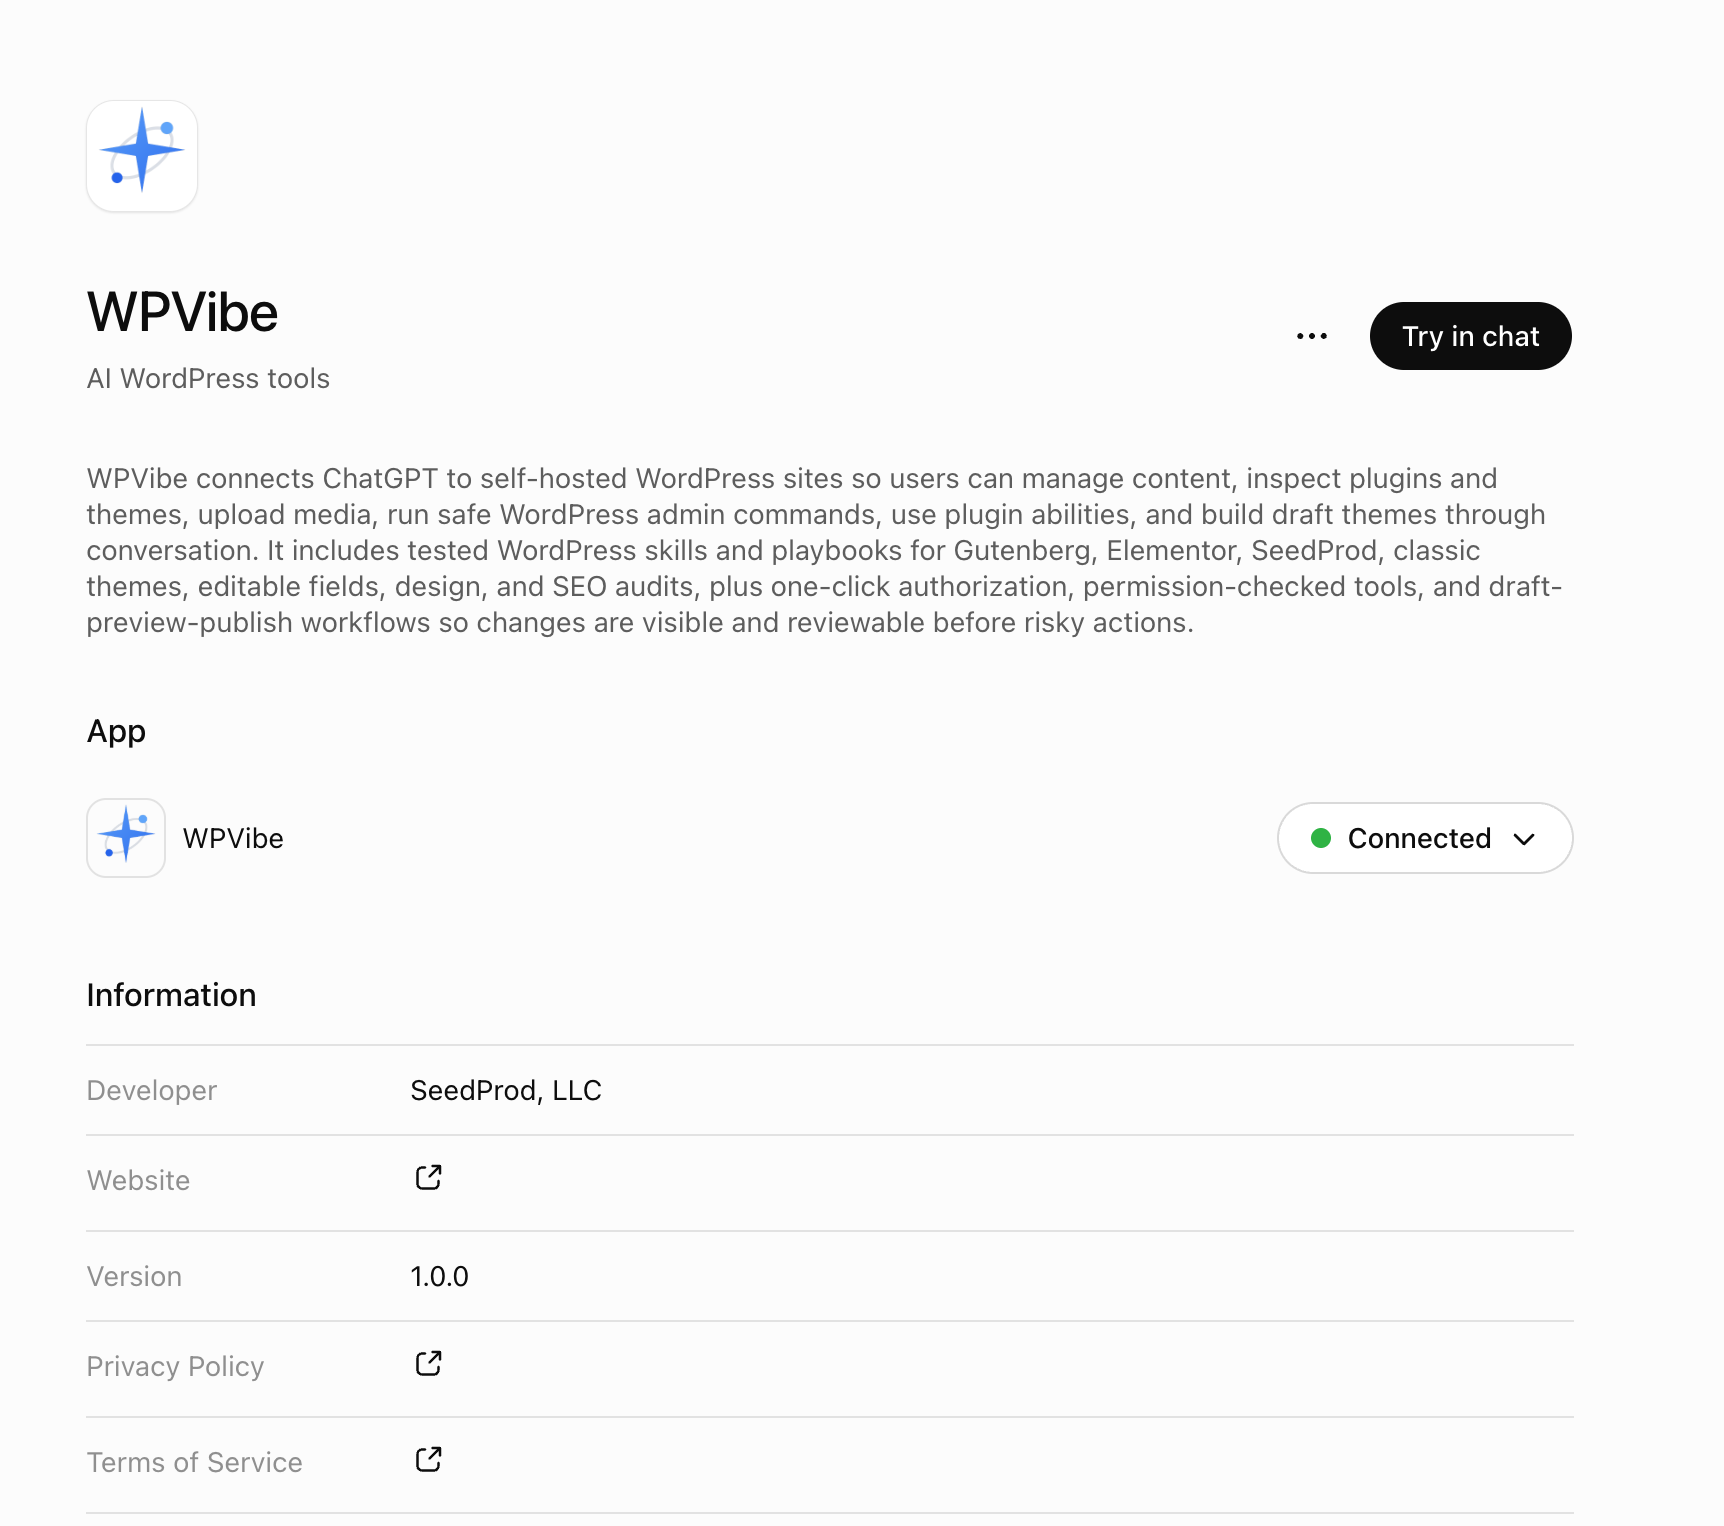
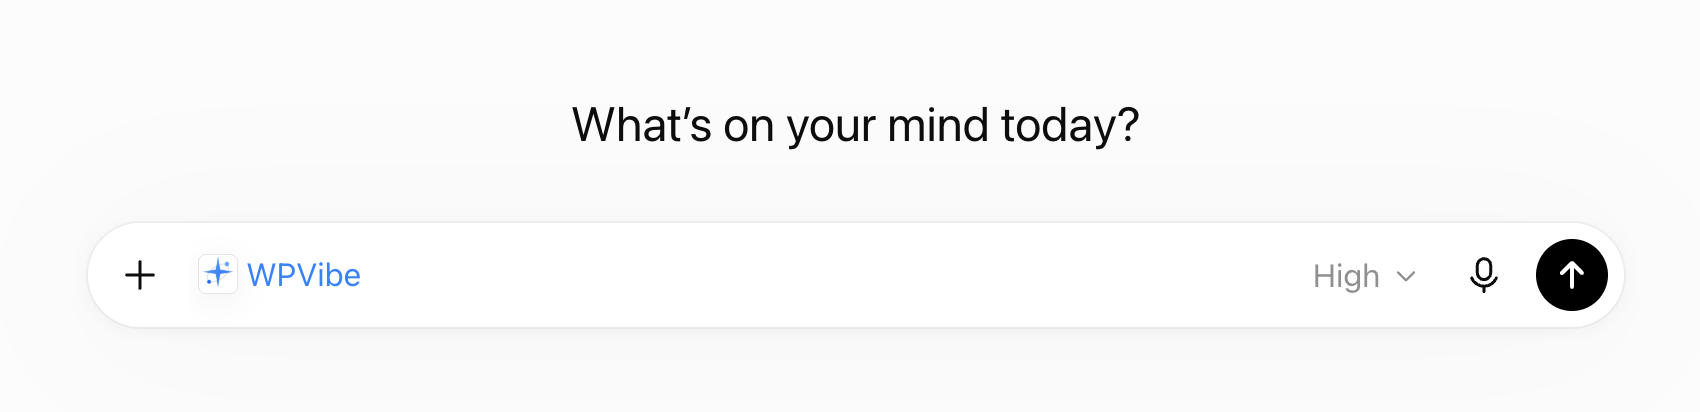
One thing to know: in ChatGPT, plugins attach per conversation. The link above opens a chat with WPVibe already attached. For any other chat, tap the + button in the message box and choose WPVibe before you start; if you skip that step, ChatGPT answers from web search instead of your site. This is what an attached chat looks like:
You can also add WPVibe manually as a custom MCP server, if your ChatGPT account or workspace allows custom MCP servers. Do this on the web:
- Open chatgpt.com/plugins, select the + button, then Add custom MCP server.
- Name it WPVibe. Under Connection, enter
https://mcp.wpvibe.ai/mcpas the MCP server URL. - Set authentication to OAuth, review the risk warning, and select I understand and want to continue.
- Select Create as a plugin, review the tools it finds, then install the plugin and complete the WPVibe sign-in. Use the same email as your WPVibe account, and your sites are already there.
- Start a new chat, type @ in the message box, and pick it.
If you also have the WPVibe plugin from the directory, pick the one you mean in each chat. If you don’t see Add custom MCP server, your account or workspace doesn’t allow custom MCP servers, so use the directory plugin above. An MCP server added under MCP servers in the ChatGPT desktop app’s settings is part of its Codex setup, not your ChatGPT chats, so add WPVibe on the web as above.
Cursor
Open Cursor settings, find MCP servers, add a remote server, and paste the WPVibe MCP server URL.
Gemini CLI
gemini mcp add --transport http --scope user wpvibe https://mcp.wpvibe.ai/mcpNo token or client ID is needed. The first time Gemini uses a WPVibe tool, a browser window opens for the normal WPVibe sign-in.
One caveat: Google is moving individual (free and Google One) Gemini CLI accounts to Antigravity, and the CLI now refuses to sign in on those plans with a message about migrating. If you see it, follow the Google Antigravity steps below instead. Paid Code Assist and API-key setups keep working.
Google Antigravity
Antigravity reads MCP servers from ~/.gemini/config/mcp_config.json (you can also open this file from the MCP settings in the Antigravity editor). Antigravity’s built-in sign-in for remote MCP servers is not complete yet, so a plain serverUrl entry fails with an Unauthorized error. Add WPVibe through mcp-remote instead:
{
  "mcpServers": {
    "wpvibe": {
      "command": "npx",
      "args": ["-y", "mcp-remote", "https://mcp.wpvibe.ai/mcp"]
    }
  }
}
This needs Node.js installed (npx comes with it). Keep only one WPVibe entry in the file. The first time Antigravity starts the server, a browser window opens for the normal WPVibe sign-in.
Alternate method: let Antigravity set it up for you. In a new conversation, ask: “Add the WPVibe MCP server to my MCP config using mcp-remote. The server URL is https://mcp.wpvibe.ai/mcp”. If the sign-in window does not open, ask: “Start the WPVibe sign-in”.
Once you are signed in you stay signed in, so no window appears on later restarts. That is normal. To sign in again from scratch, delete the .mcp-auth folder in your home directory and restart Antigravity.
Grok
Grok supports custom remote MCP connectors on grok.com. Open grok.com/connectors, click New Connector, choose Custom, and paste the WPVibe MCP server URL. Grok opens the WPVibe sign-in; once you finish it, Grok discovers the WPVibe tools automatically and they are available in your chats. On Grok Business and Enterprise workspaces, a team admin may need to provision the connector first.
Grok Build
Grok Build is xAI’s coding agent for the terminal, currently in beta for SuperGrok and X Premium Plus subscribers. Add WPVibe with one command:
grok mcp add --transport http wpvibe https://mcp.wpvibe.ai/mcpNo token or client ID is needed. The first time Grok Build uses a WPVibe tool, a browser window opens for the normal WPVibe sign-in. If you already added WPVibe to Claude Code, you can skip the command entirely: Grok Build reads MCP servers from ~/.claude.json and project .mcp.json files, so WPVibe shows up on its own. Run grok mcp list to confirm it is loaded.
Perplexity
Perplexity supports custom remote MCP connectors on Enterprise plans, with rollout to individual paid plans under way. If your plan has them: open Account settings, go to Connectors, click + Custom connector, and select Remote. Name it WPVibe, paste the WPVibe MCP server URL, choose Streamable HTTP as the transport, and set authentication to OAuth 2.0 with client ID and secret left empty. After adding it, click the connector card to run the WPVibe sign-in. The local connectors in the Perplexity Mac app are a separate feature and not the path for WPVibe.
Goose, Trae, Windsurf, and other MCP clients
Any client that supports remote MCP servers over HTTP works with WPVibe. Wherever the client asks for a server URL or endpoint, paste the WPVibe MCP server URL, leave token and client ID fields empty, and complete the WPVibe sign-in when the browser window opens. If your client only supports local command-based MCP servers, or a sign-in window never opens, check its documentation for “remote MCP” or “streamable HTTP” support.
Tool permission prompts
Most AI apps ask before they call a tool. That is the app’s own setting, separate from WPVibe’s approvals for risky changes. If you want fewer app prompts:
- ChatGPT: Plugins > WPVibe > Permissions, then choose Allow all tools.
- Claude: Customize > Connectors, open WPVibe, and set its tools to Always allow.
- Claude Code, Cursor and other local clients: use the client’s tool permission or allowlist setting.
Allowing tools in your app doesn’t turn off WPVibe’s approvals. WPVibe still asks before deletes and other risky changes, unless the site’s administrator has turned on Dangerously bypass approvals.
After setup
Ask your AI: “Use WPVibe to list my connected sites. If no sites are connected, help me connect one.” That confirms the client can reach WPVibe before you start editing WordPress.