This guide is about letting ChatGPT manage your WordPress site: write and publish posts, edit pages, update plugins, fix problems, build landing pages. If you want a ChatGPT-powered chatbot for your visitors, that is a different kind of plugin. With WPVibe, ChatGPT becomes the person doing the work in wp-admin, and you approve anything risky.
Before you start
- A self-hosted WordPress site where you can install plugins.
- A ChatGPT account. The WPVibe app works on the free plan; paid plans let you pick a stronger model for big jobs.
- Two minutes.
Step 1: Install the WPVibe plugin
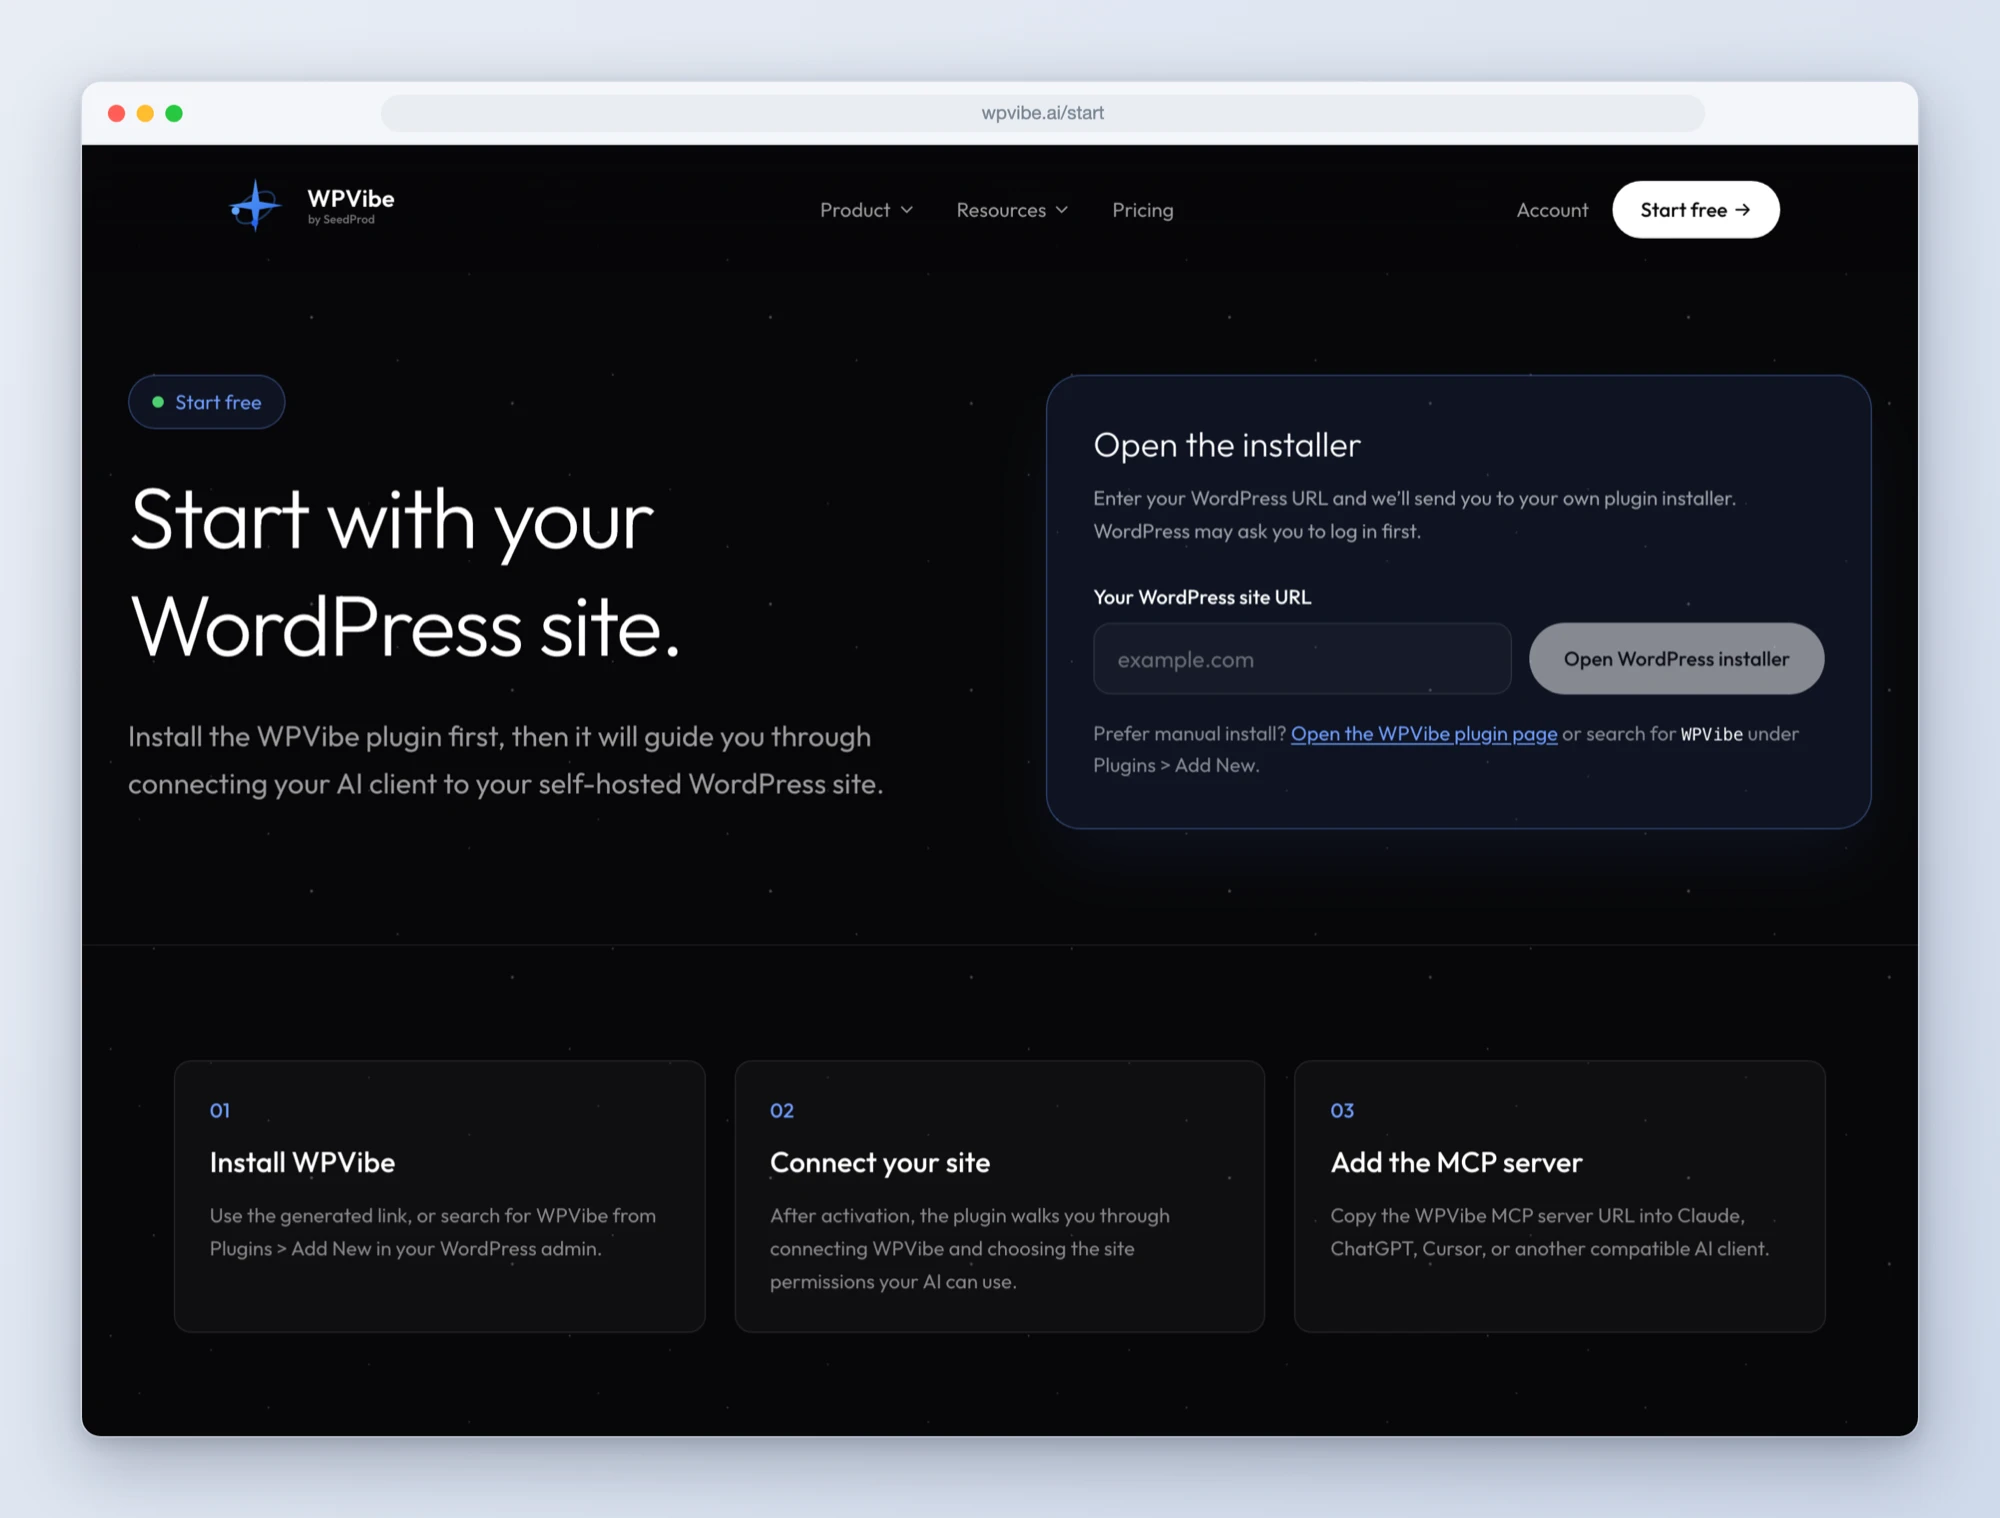
Go to wpvibe.ai/start, enter your site address, and follow the installer. It installs the free WPVibe plugin from WordPress.org and opens a one-click authorization screen in your wp-admin. Approve it and your site is connected to your WPVibe account.
Step 2: Add the WPVibe app to ChatGPT
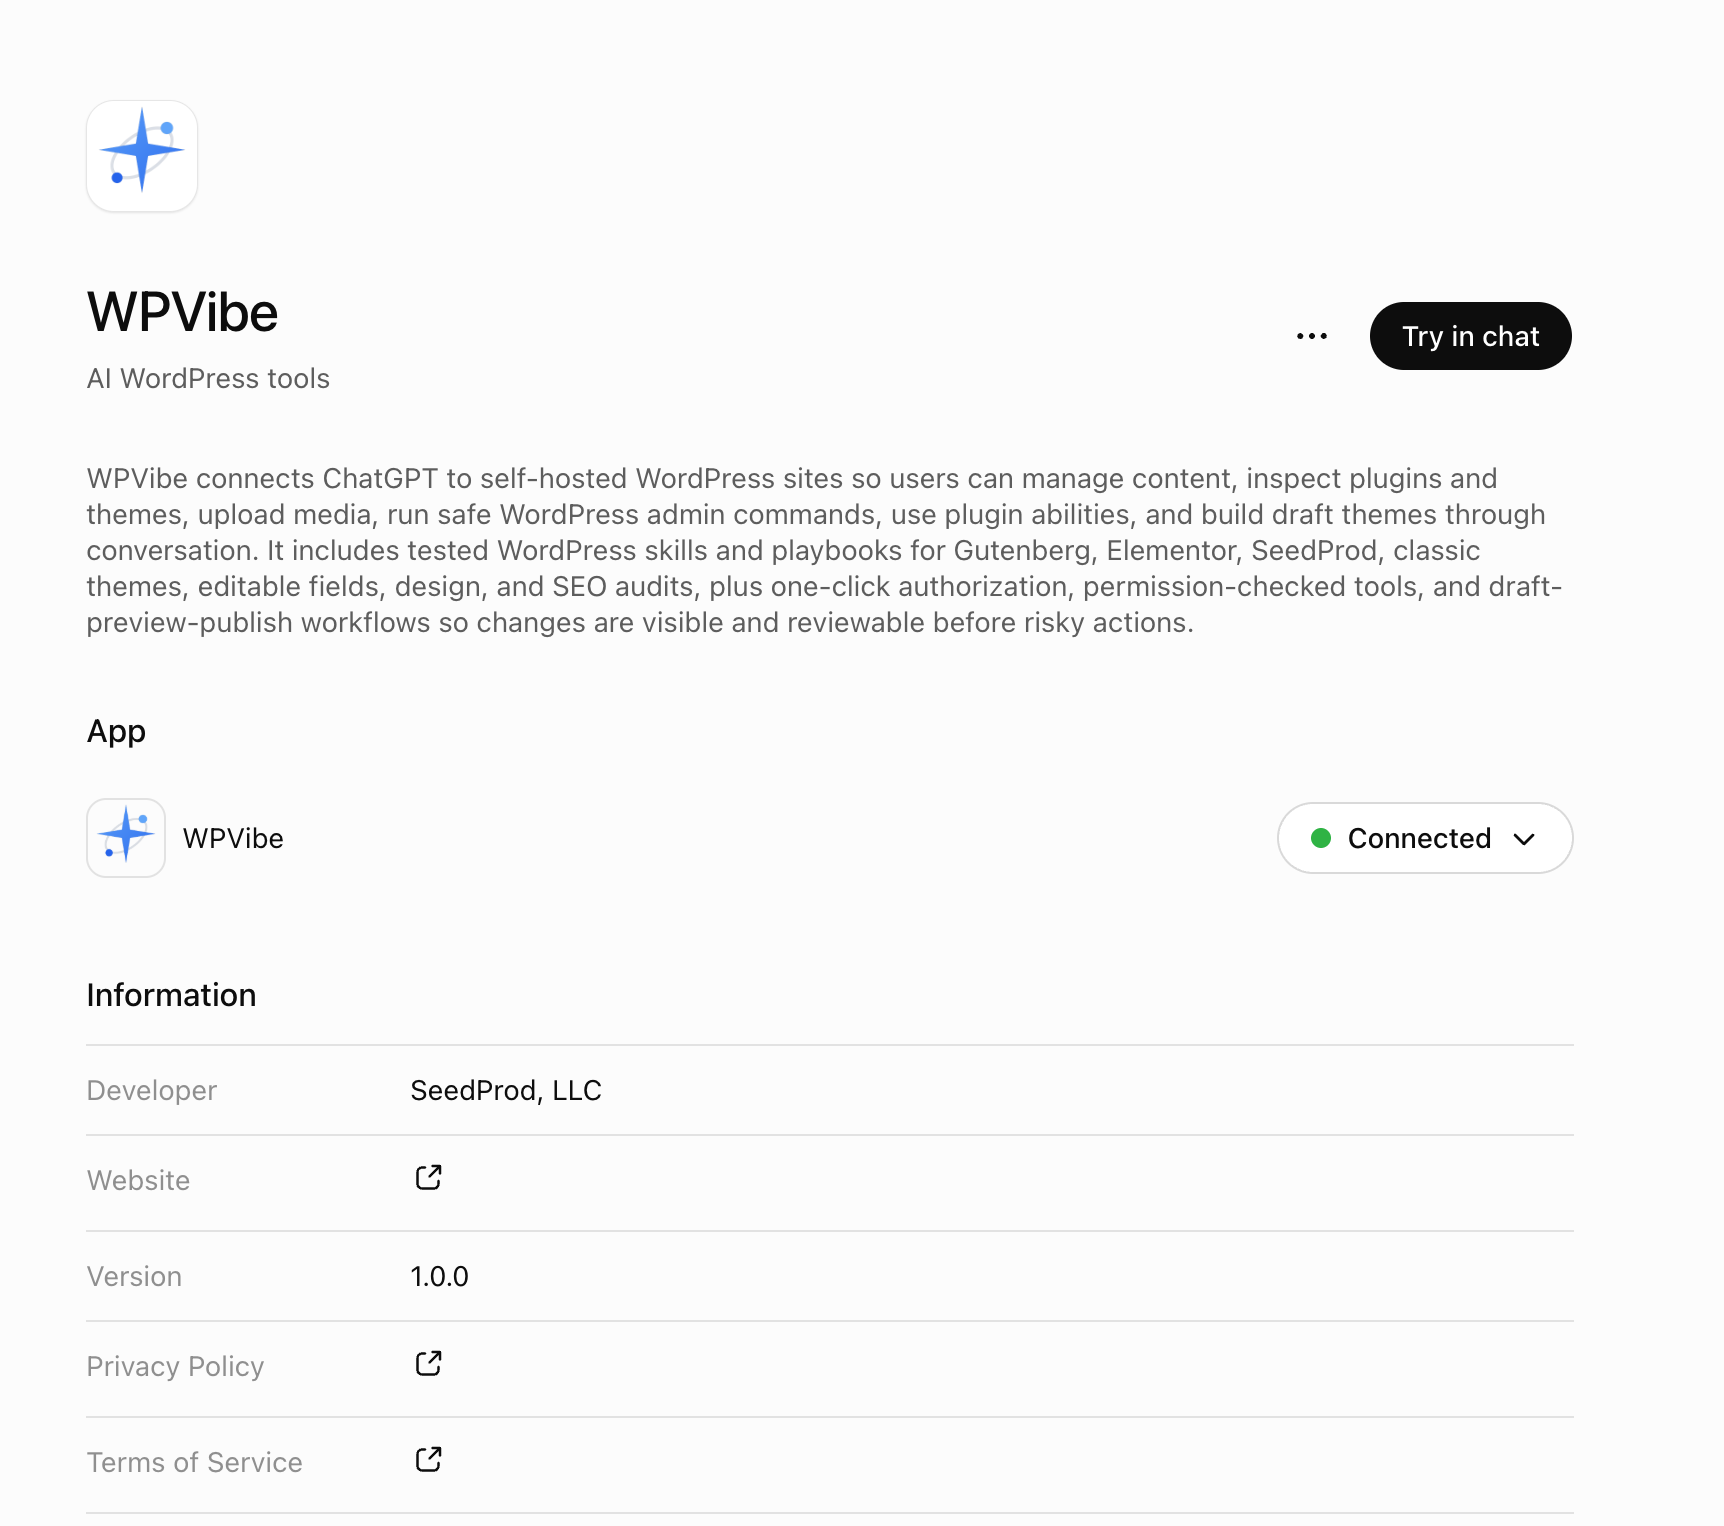
WPVibe is in the ChatGPT app directory, so there is nothing to configure. Open WPVibe in ChatGPT, click Connect, and complete the WPVibe sign-in: enter your email, then type the 6-digit code from the email you receive. The code is in the subject line.
Step 3: Attach WPVibe to a chat
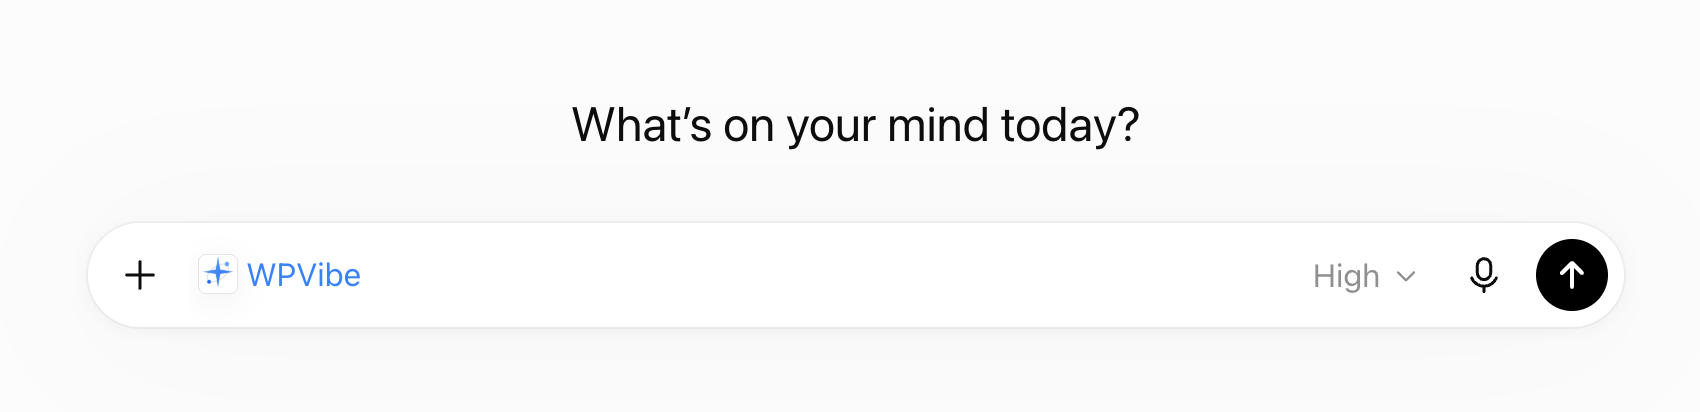
ChatGPT apps attach per conversation. The link above opens a chat with WPVibe already attached. For any other chat, click the + button in the message box and choose WPVibe before you start. Skip this and ChatGPT answers from web search instead of your site. An attached chat shows a WPVibe chip next to the plus button:
Step 4: Try it
Use WPVibe to list my connected sites. If none are connected, help me connect one.ChatGPT lists the site from step 1. Then ask for real work: “Write a 600-word post about our new opening hours and save it as a draft,” or “Check which plugins need updates and update the safe ones.” For bigger jobs, pick a Thinking model from the model picker instead of Auto, so ChatGPT plans the steps rather than stopping partway.
Adding WPVibe manually
If your workspace uses custom connectors instead of the app directory: open ChatGPT settings, go to Apps & Connectors, create a new connector, paste https://mcp.wpvibe.ai/mcp as the MCP server URL, choose OAuth for authentication, and complete the same WPVibe sign-in.
What ChatGPT can do once it is connected
Anything the WordPress user you authorized can do. Some starting points from the cookbook:
- Add schema markup to key pages so you qualify for rich results.
- Add analytics or a pixel sitewide without editing a theme file.
- Copy a page to another of your sites as a draft.
- Write and schedule posts, update plugins, run an SEO or accessibility audit, or build a landing page in your page builder.
Safe by default
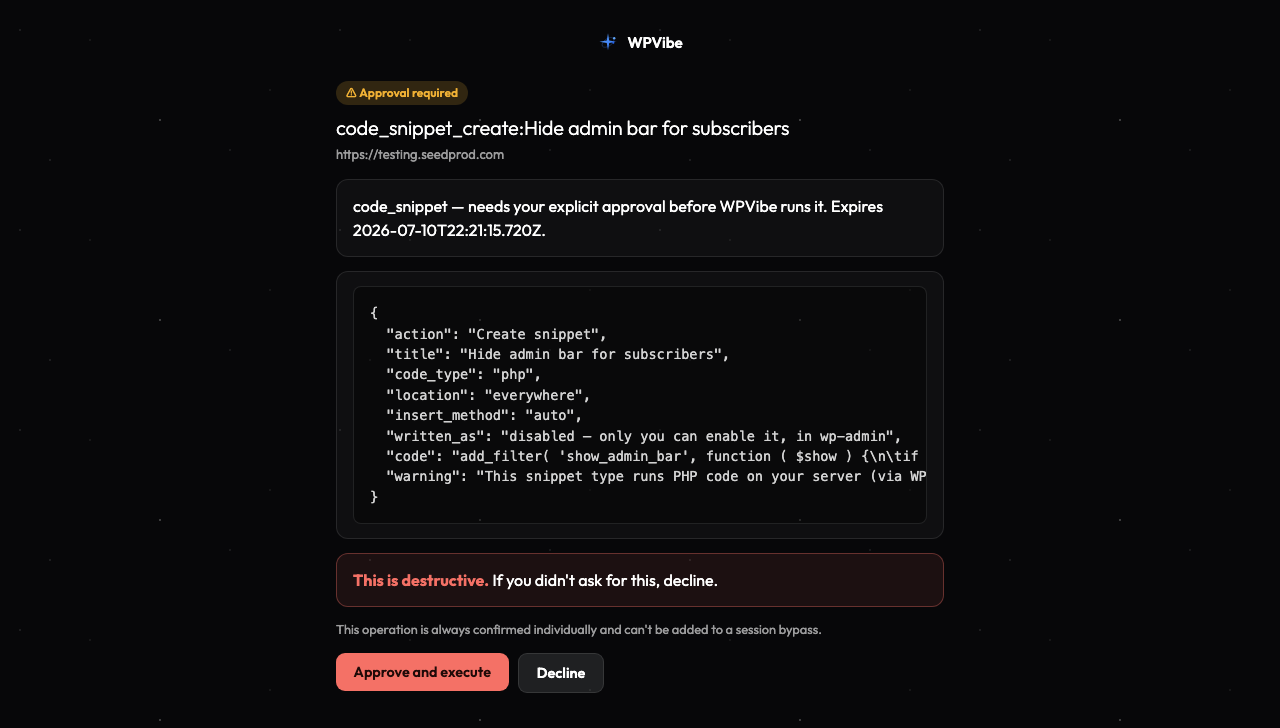
ChatGPT works as the WordPress user you authorized and cannot exceed that user’s permissions. Theme changes happen in a draft with a private preview and an explicit publish. Bulk or destructive operations show a dry run and wait for your approval in the browser. Deleted content goes to the trash, not away. You can disconnect a site, or remove the app in ChatGPT, at any time. More on the security page.
Frequently asked questions
Is this a ChatGPT plugin for WordPress?
It is two things: a WordPress plugin on your site and a WPVibe app inside ChatGPT. The plugin gives ChatGPT a safe way in; the app is how ChatGPT talks to it. Neither one puts a chatbot on your website.
Does it work on ChatGPT Free?
Yes. On the free plan ChatGPT picks the model for you, which is fine for connecting and everyday edits. For large builds, a paid plan with a Thinking model finishes more reliably.
Can ChatGPT publish posts directly?
Yes, if the WordPress user you authorized can. Many people ask for drafts first and publish after a read-through; that is one sentence in the prompt.
ChatGPT says it cannot use WPVibe
Usually the app is not attached to that chat, or ChatGPT dropped its tools mid-conversation. Start a fresh chat with WPVibe attached. The ChatGPT troubleshooting guide covers the rest, and support is a message away.